Operate Indexes
You can create an index for a Tag and/or an Edge type. An index lets traversal start from vertices or edges with the same property and it can make a query more efficient. With Studio, you can use the Console page or the Schema page to create, retrieve, and delete indexes. This topic introduces how to use the Schema page to operate an index only.
Note
You can create an index when a Tag or an Edge Type is created. But an index can decrease the write speed during data import. We recommend that you import data firstly and then create and rebuild an index. For more information, see Index overview.
Prerequisites
To operate an index on the Schema page of Studio, you must do a check of these:
- Studio is connected to NebulaGraph.
- A graph Space, Tags, and Edge Types are created.
- Your account has the authority of GOD, ADMIN, or DBA.
Create an index
-
In the toolbar, click the Schema tab.
-
In the Graph Space List page, find a graph space and then click its name or click Schema in the Operations column.
-
In the Current Graph Space field, confirm the name of the graph space. If necessary, you can choose another name to change the graph space.
-
Click the Index tab and then click the + Create button.
-
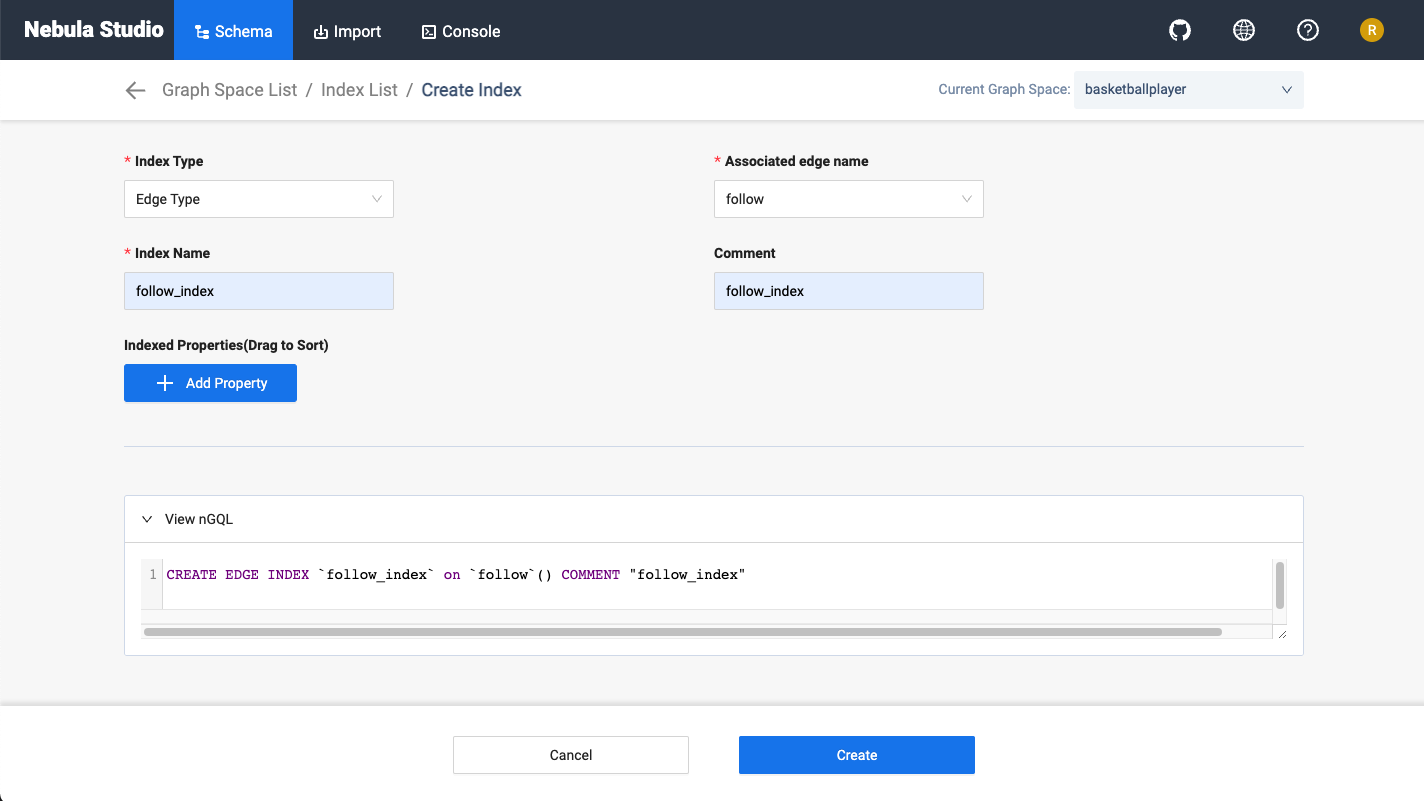
On the Create page, do these settings:
- Index Type: Choose to create an index for a tag or for an edge type. In this example, Edge Type is chosen.
- Associated tag name: Choose a tag name or an edge type name. In this example, follow is chosen.
- Index Name: Specify a name for the new index. In this example, follow_index is used.
- Comment (Optional): Enter the description for index.
-
Indexed Properties (Optional): Click Add property, and then, in the dialog box, choose a property. If necessary, repeat this step to choose more properties. You can drag the properties to sort them. In this example,
degreeis chosen.Note
The order of the indexed properties has an effect on the result of the
LOOKUPstatement. For more information, see nGQL Manual.
-
When the settings are done, the Equivalent to the following nGQL statement panel shows the statement equivalent to the settings.
-
Confirm the settings and then click the + Create button. When an index is created, the index list shows the new index.
View indexes
-
In the toolbar, click the Schema tab.
-
In the Graph Space List page, find a graph space and then click its name or click Schema in the Operations column.
-
In the Current Graph Space field, confirm the name of the graph space. If necessary, you can choose another name to change the graph space.
-
Click the Index tab, in the upper left corner, choose an index type, Tag or Edge Type.
-
In the list, find an index and click its row. All its details are shown in the expanded row.
Rebuild indexes
-
In the toolbar, click the Schema tab.
-
In the Graph Space List page, find a graph space and then click its name or click Schema in the Operations column.
-
In the Current Graph Space field, confirm the name of the graph space. If necessary, you can choose another name to change the graph space.
-
Click the Index tab, in the upper left corner, choose an index type, Tag or Edge Type.
-
Click the Index tab, find an index and then click the button Rebuild in the Operations column.
Note
For more Information, see REBUILD INDEX.
Delete an index
To delete an index on Schema, follow these steps:
-
In the toolbar, click the Schema tab.
-
In the Graph Space List page, find a graph space and then click its name or click Schema in the Operations column.
-
In the Current Graph Space field, confirm the name of the graph space. If necessary, you can choose another name to change the graph space.
-
Click the Index tab, find an index and then click the button
 in the Operations column.
 -
Click OK to confirm in the pop-up dialog box.