Deploy Studio
This topic describes how to deploy Studio locally by Docker, RPM, tar and DEB package.
Note
You can also try some functions online in Studio.
RPM-based Studio
Prerequisites
Before you deploy RPM-based Studio, you must confirm that:
- The NebulaGraph services are deployed and started. For more information, see NebulaGraph Database Manual.
- The Linux distribution is CentOS, install
lsof.
-
Before the installation starts, the following ports are not occupied.
Port Description 7001 Web service provided by Studio.
Install
-
Select and download the RPM package according to your needs. It is recommended to select the latest version. Common links are as follows:
Installation package Checksum Nebula version nebula-graph-studio-3.2.5.x86_64.rpm nebula-graph-studio-3.2.5.x86_64.rpm.sha256 3.0.2 -
Use
sudo rpm -i <rpm>to install RPM package.For example, install Studio 3.2.5, use the following command. The default installation path is
/usr/local/nebula-graph-studio.sudo rpm -i nebula-graph-studio-3.2.5.x86_64.rpmYou can also install it to the specified path using the following command:
$ sudo rpm -i nebula-graph-studio-3.2.5.x86_64.rpm --prefix=<path>When the screen returns the following message, it means that the PRM-based Studio has been successfully started.
Created symlink from /etc/systemd/system/multi-user.target.wants/nebula-graph-studio.service to /usr/lib/systemd/system/nebula-graph-studio.service. -
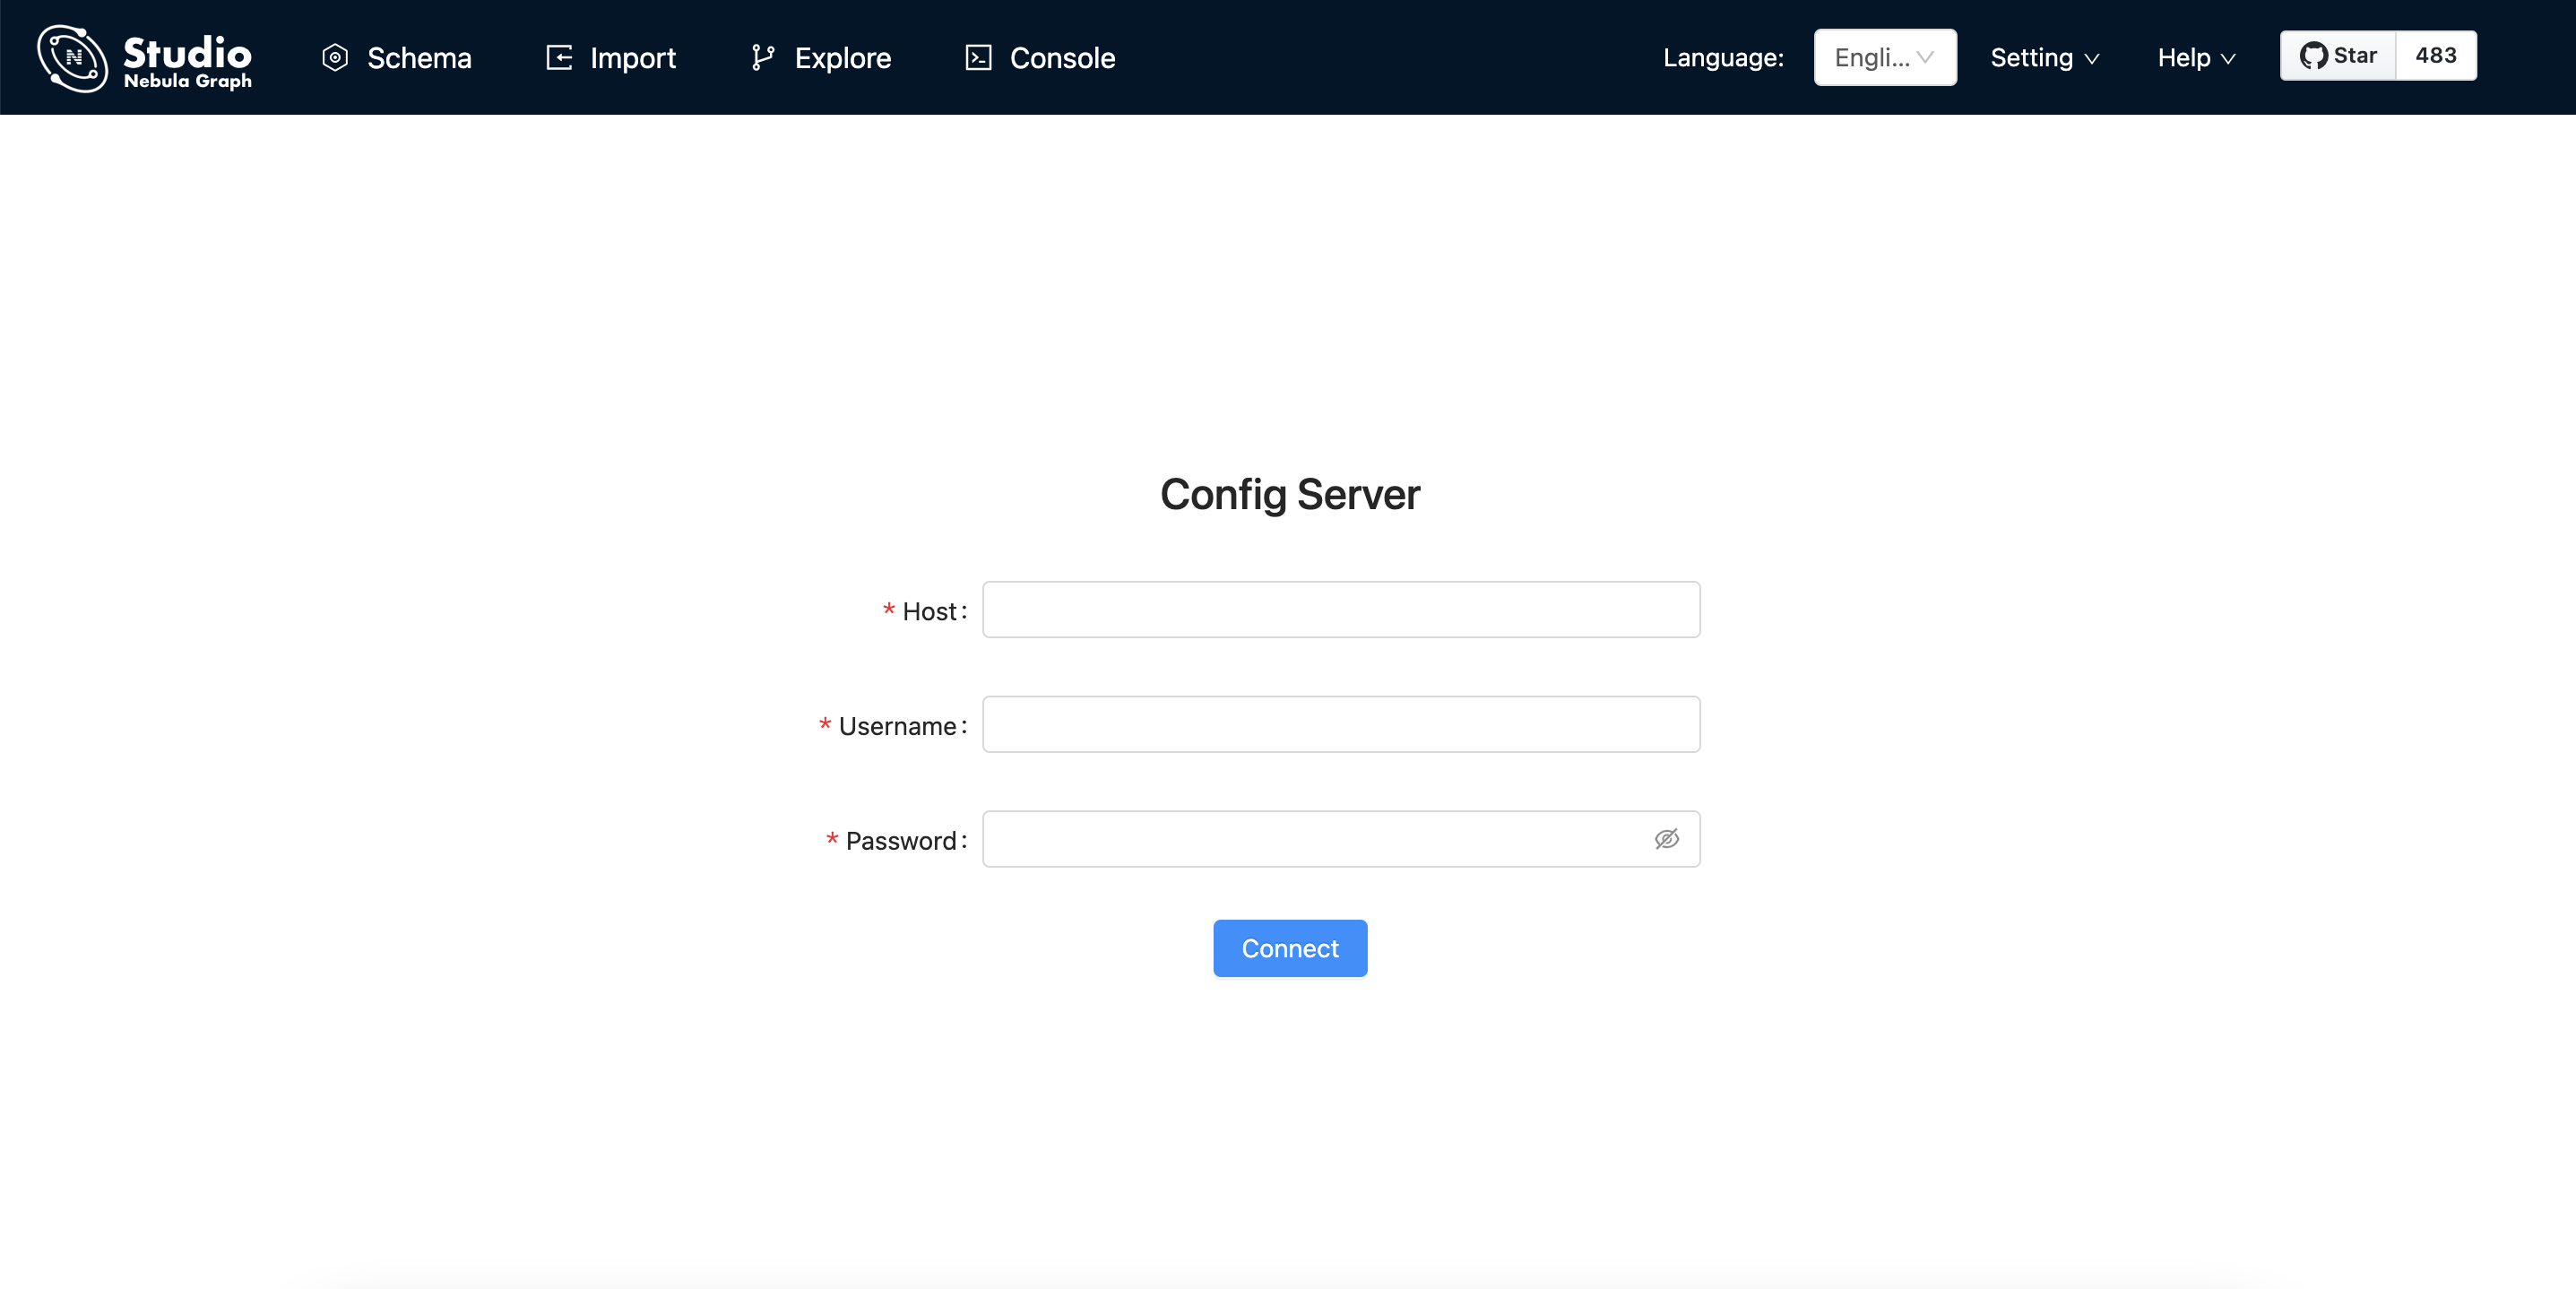
When Studio is started, use
http://ip address:7001to get access to Studio.If you can see the Config Server page on the browser, Studio is started successfully.
Uninstall
You can uninstall Studio using the following command:
sudo rpm -e nebula-graph-studio-3.2.5.x86_64
Exception handling
If the automatic start fails during the installation process or you want to manually start or stop the service, use the following command:
- Start the service manually
bash /usr/local/nebula-graph-studio/scripts/rpm/start.sh
- Stop the service manually
bash /usr/local/nebula-graph-studio/scripts/rpm/stop.sh
If you encounter an error bind EADDRINUSE 0.0.0.0:7001 when starting the service, you can use the following command to check port 7001 usage.
lsof -i:7001
If the port is occupied and the process on that port cannot be terminated, you can use the following command to change Studio service port and restart the service.
//Open the configuration file
$ vi config/config.default.js

//Change the port
web:
#  task_id_path:
#  upload_dir:
#  tasks_dir:
#  sqlitedb_file_path:
#  ip:
  port: 7001 // Modify this port number and change it to any

//Restart service
$ systemctl restart nebula-graph-studio.service
tar-based Studio
Prerequisites
Before you deploy tar-based Studio, you must do a check of these:
- The NebulaGraph services are deployed and started. For more information, see NebulaGraph Database Manual.
-
Before the installation starts, the following ports are not occupied.
Port Description 7001 Web service provided by Studio
Install and deploy
-
Select and download the tar package according to your needs. It is recommended to select the latest version. Common links are as follows:
Installation package Studio version nebula-graph-studio-3.2.5.x86_64.tar.gz 3.2.5 -
Use
tar -xvfto decompress the tar package.tar -xvf nebula-graph-studio-3.2.5.x86_64.tar.gz -
Deploy and start nebula-graph-studio.
$ cd nebula-graph-studio
$ ./server
Caution
Studio 3.0.2 version is not dependent on nebula-importer and nebula-http-gateway, so the installation and deployment procedure is different from Studio v3.1.0.
-
When Studio is started, use
http://ip address:7001to get access to Studio.If you can see the Config Server page on the browser, Studio is started successfully.
Stop Service
You can use kill pid to stop the service:
$ kill $(lsof -t -i :7001) #stop nebula-graph-studio
DEB-based Studio
Prerequisites
Before you deploy DEB-based Studio, you must do a check of these:
- The NebulaGraph services are deployed and started. For more information, see NebulaGraph Database Manual.
- The Linux distribution is Ubuntu.
-
Before the installation starts, the following ports are not occupied.
Port Description 7001 Web service provided by Studio - The path
/usr/lib/systemd/systemexists in the system. If not, create it manually.
- The path
Install
-
Select and download the DEB package according to your needs. It is recommended to select the latest version. Common links are as follows:
Installation package Checksum Nebula version nebula-graph-studio-3.2.5.x86_64.deb nebula-graph-studio-3.2.5.x86_64.deb.sha256 3.0.2 -
Use
sudo dpkg -i <deb>to install DEB package.For example, install Studio 3.2.5, use the following command:
$ sudo dpkg -i nebula-graph-studio-3.2.5.x86_64.deb -
When Studio is started, use
http://ip address:7001to get access to Studio.If you can see the Config Server page on the browser, Studio is started successfully.
Uninstall
You can uninstall Studio using the following command:
$ sudo dpkg -r nebula-graph-studio
Docker-based Studio
Prerequisites
Before you deploy Docker-based Studio, you must do a check of these:
- The NebulaGraph services are deployed and started. For more information, see NebulaGraph Database Manual.
- On the machine where Studio will run, Docker Compose is installed and started. For more information, see Docker Compose Documentation.
-
Before the installation starts, the following ports are not occupied.
Port Description 7001 Web service provided by Studio
Procedure
To deploy and start Docker-based Studio, run the following commands. Here we use NebulaGraph v3.0.2 for demonstration:
-
Download the configuration files for the deployment.
Installation package NebulaGraph version nebula-graph-studio-v3.2.5.tar.gz 3.0.2 -
Create the
nebula-graph-studio-v3.2.5directory and decompress the installation package to the directory.mkdir nebula-graph-studio-v3.2.5 -zxvf nebula-graph-studio-v3.2.5.gz -C nebula-graph-studio-v3.2.5 -
Change to the
nebula-graph-studio-v3.2.5directory.cd nebula-graph-studio-v3.2.5 -
Pull the Docker image of Studio.
docker-compose pull -
Build and start Docker-based Studio. In this command,
-dis to run the containers in the background.docker-compose up -dIf these lines are returned, Docker-based Studio v3.x is deployed and started.
Creating docker_web_1 ... done -
When Docker-based Studio is started, use
http://ip address:7001to get access to Studio.Note
Run
ifconfigoripconfigto get the IP address of the machine where Docker-based Studio is running. On the machine running Docker-based Studio, you can usehttp://localhost:7001to get access to Studio.If you can see the Config Server page on the browser, Docker-based Studio is started successfully.
Next to do
On the Config Server page, connect Docker-based Studio to NebulaGraph. For more information, see Connect to NebulaGraph.