Quickly deploy NebulaGraph using Docker
You can quickly get started with NebulaGraph by deploying NebulaGraph with Docker Desktop or Docker Compose.
NebulaGraph is available as a Docker Extension that you can easily install and run on your Docker Desktop. You can quickly deploy NebulaGraph using Docker Desktop with just one click.
-
Install Docker Desktop.
-
In the left sidebar of Docker Desktop, click Extensions or Add Extensions.
-
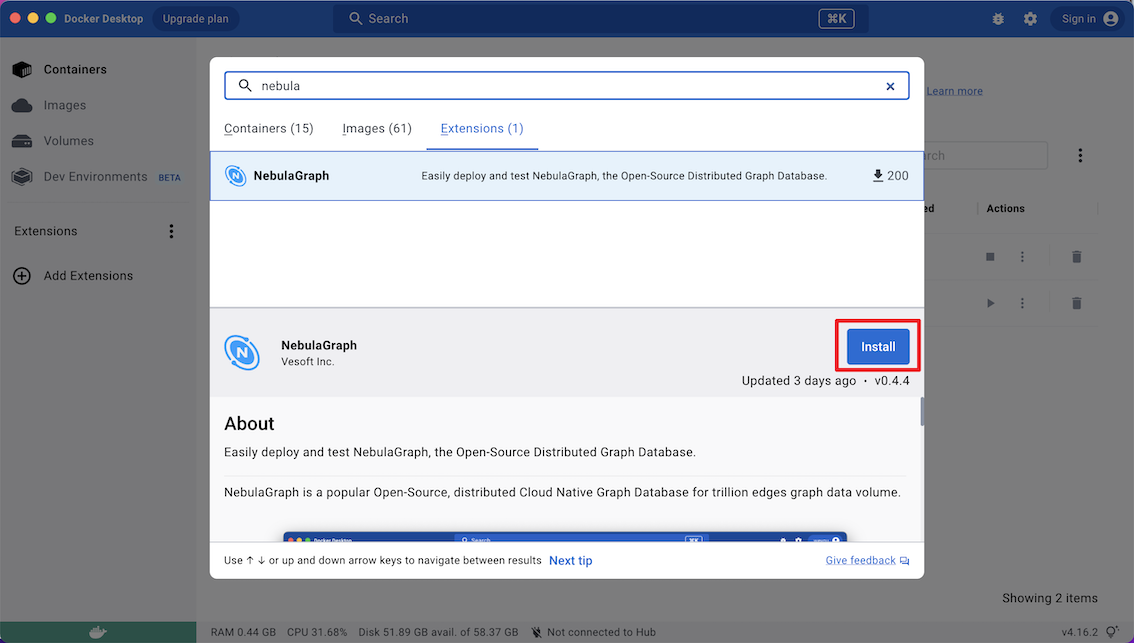
On the Extensions Marketplace, search for NebulaGraph and click Install.
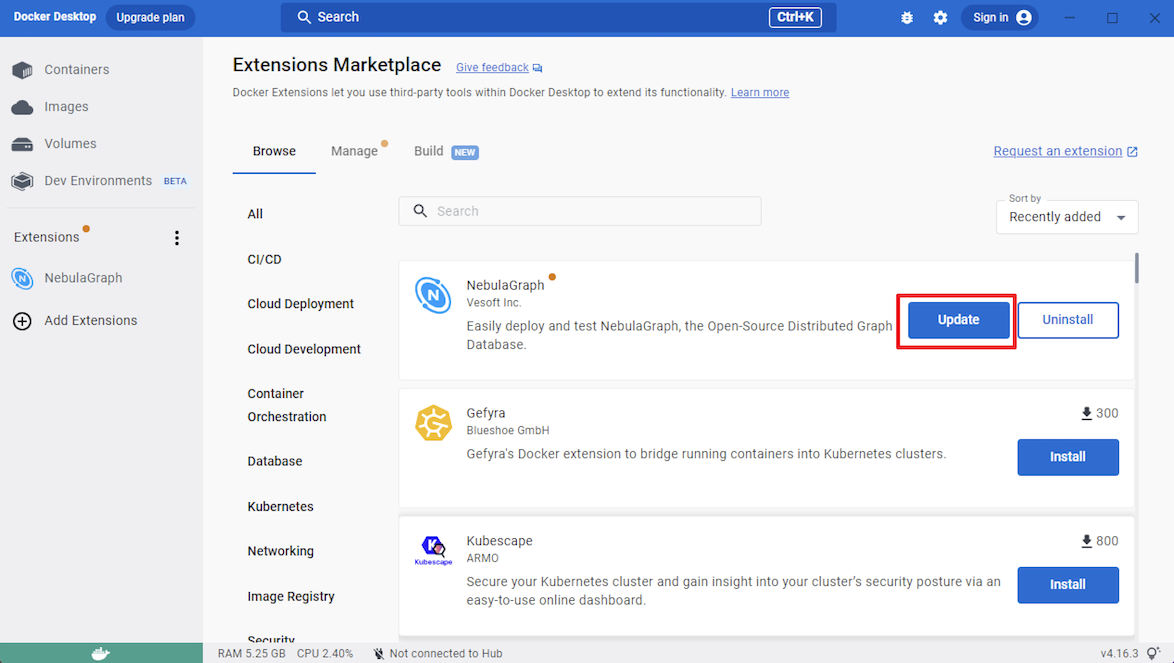
Click Update to update NebulaGraph to the latest version when a new version is available.
-
Click Open to navigate to the NebulaGraph extension page.
-
At the top of the page, click Studio in Browser to use NebulaGraph.
-
Use basic nGQL commands. For more information, see Use nGQL (CRUD).
For more information about how to use NebulaGraph with Docker Desktop, see the following video:
Using Docker Compose can quickly deploy NebulaGraph services based on the prepared configuration file. It is only recommended to use this method when testing the functions of NebulaGraph.
Prerequisites
-
You have installed the following applications on your host.
Application Recommended version Official installation reference Docker Latest Install Docker Engine Docker Compose Latest Install Docker Compose Git Latest Download Git
- If you are deploying NebulaGraph as a non-root user, grant the user with Docker-related privileges. For detailed instructions, see Manage Docker as a non-root user.
- You have started the Docker service on your host.
- If you have already deployed another version of NebulaGraph with Docker Compose on your host, to avoid compatibility issues, you need to delete the
nebula-docker-compose/datadirectory.
Deploy NebulaGraph
-
Clone the
3.8.0branch of thenebula-docker-composerepository to your host with Git.Danger
The
masterbranch contains the untested code for the latest NebulaGraph development release. DO NOT use this release in a production environment.$ git clone -b release-3.8 https://github.com/vesoft-inc/nebula-docker-compose.gitNote
The
x.yversion of Docker Compose aligns to thex.yversion of NebulaGraph. For the NebulaGraphzversion, Docker Compose does not publish the correspondingzversion, but pulls thezversion of the NebulaGraph image. -
Go to the
nebula-docker-composedirectory.$ cd nebula-docker-compose/ -
Run the following command to start all the NebulaGraph services.
Note
- Update the NebulaGraph images and NebulaGraph Console images first if they are out of date.
- The return result after executing the command varies depending on the installation directory.
[nebula-docker-compose]$ docker-compose up -d
Creating nebula-docker-compose_metad0_1 ... done
Creating nebula-docker-compose_metad2_1 ... done
Creating nebula-docker-compose_metad1_1 ... done
Creating nebula-docker-compose_graphd2_1   ... done
Creating nebula-docker-compose_graphd_1    ... done
Creating nebula-docker-compose_graphd1_1   ... done
Creating nebula-docker-compose_storaged0_1 ... done
Creating nebula-docker-compose_storaged2_1 ... done
Creating nebula-docker-compose_storaged1_1 ... done
Compatibility
Starting from NebulaGraph version 3.1.0, nebula-docker-compose automatically starts a NebulaGraph Console docker container and adds the storage host to the cluster (i.e.
ADD HOSTScommand).Note
For more information of the preceding services, see NebulaGraph architecture.
Connect to NebulaGraph
There are two ways to connect to NebulaGraph:
- Connected with Nebula Console outside the container. Because the external mapping port for the Graph service is also fixed as
9669in the container's configuration file, you can connect directly through the default port. For details, see Connect to NebulaGraph.
- Log into the container installed NebulaGraph Console, then connect to the Graph service. This section describes this approach.
-
Run the following command to view the name of NebulaGraph Console docker container.
$ docker-compose ps Name Command State Ports -------------------------------------------------------------------------------------------- nebula-docker-compose_console_1 sh -c sleep 3 && Up nebula-co ... ...... -
Run the following command to enter the NebulaGraph Console docker container.
docker exec -it nebula-docker-compose_console_1 /bin/sh / # -
Connect to NebulaGraph with NebulaGraph Console.
/ # ./usr/local/bin/nebula-console -u <user_name> -p <password> --address=graphd --port=9669Note
By default, the authentication is off, you can only log in with an existing username (the default is
root) and any password. To turn it on, see Enable authentication. -
Run the following commands to view the cluster state.
5. Use basic nGQL commands. For more information, see Use nGQL (CRUD).nebula> SHOW HOSTS; +-------------+------+----------+--------------+----------------------+------------------------+---------+ | Host | Port | Status | Leader count | Leader distribution | Partition distribution | Version | +-------------+------+----------+--------------+----------------------+------------------------+---------+ | "storaged0" | 9779 | "ONLINE" | 0 | "No valid partition" | "No valid partition" | "3.8.0" | | "storaged1" | 9779 | "ONLINE" | 0 | "No valid partition" | "No valid partition" | "3.8.0" | | "storaged2" | 9779 | "ONLINE" | 0 | "No valid partition" | "No valid partition" | "3.8.0" | +-------------+------+----------+--------------+----------------------+------------------------+---------+
Run exit twice to switch back to your terminal (shell).