Getting started with NebulaGraph
This topic describes how to use NebulaGraph with Docker Desktop and on-premises deployment workflow to quickly get started with NebulaGraph.
Using NebulaGraph with Docker Desktop
NebulaGraph is available as a Docker Extension that you can easily install and run on your Docker Desktop. You can quickly deploy NebulaGraph using Docker Desktop with just one click.
-
Install Docker Desktop
Caution
To install Docker Desktop, you need to install WSL 2 first.
-
In the left sidebar of Docker Desktop, click Extensions or Add Extensions.
-
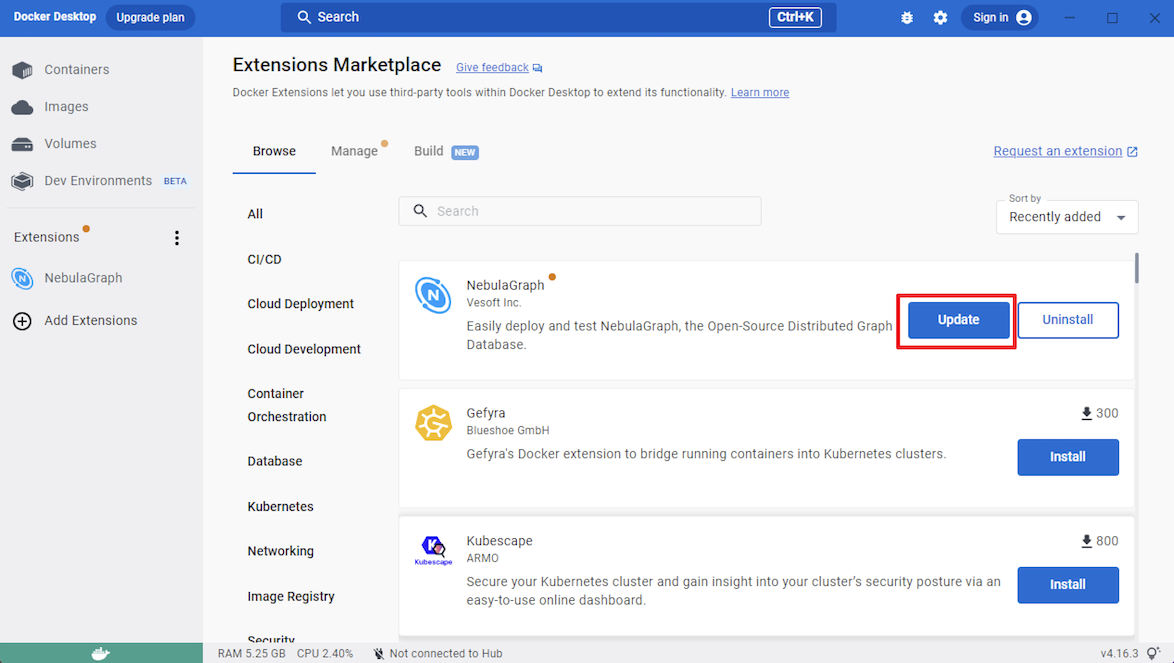
On the Extensions Marketplace, search for NebulaGraph and click Install.

Click Update to update NebulaGraph to the latest version when a new version is available.

-
Click Open to navigate to the NebulaGraph extension page.
-
At the top of the page, click Studio in Browser to use NebulaGraph.
For more information about how to use NebulaGraph with Docker Desktop, see the following video:
Deploying NebulaGraph on-premises workflow
The following workflow describes how to use NebulaGraph on-premises, including deploying NebulaGraph, connecting to NebulaGraph, and running basic CRUD.
-
Users can use the RPM or DEB file to quickly deploy NebulaGraph. For other deployment methods and the corresponding preparations, see the Deployment and installation chapter.
-
Users need to start NebulaGraph after deployment.
-
Then users can use clients to connect to NebulaGraph. NebulaGraph supports a variety of clients. This topic will describe how to use NebulaGraph Console to connect to NebulaGraph.
-
When connecting to NebulaGraph for the first time, users must register the Storage Service before querying data.
-
Users can use nGQL (NebulaGraph Query Language) to run CRUD after connecting to NebulaGraph.